Deploying Facebox to AWS ECS

Currently I am building a product on top of face recognition functionality and I am using Facebox with go-sdk as it’s the easiest way to add face recognition features to your project. And it’s super developer friendly:
docker run -p 8080:8080 -e "MB_KEY=$MB_KEY" machinebox/facebox
Today it’s time for me to deploy the project. And since we use AWS I have to deploy my Facebox instance to ECS (Elastic Container Service). In this article I’ll show you how to do in a few minutes.
Create Cluster
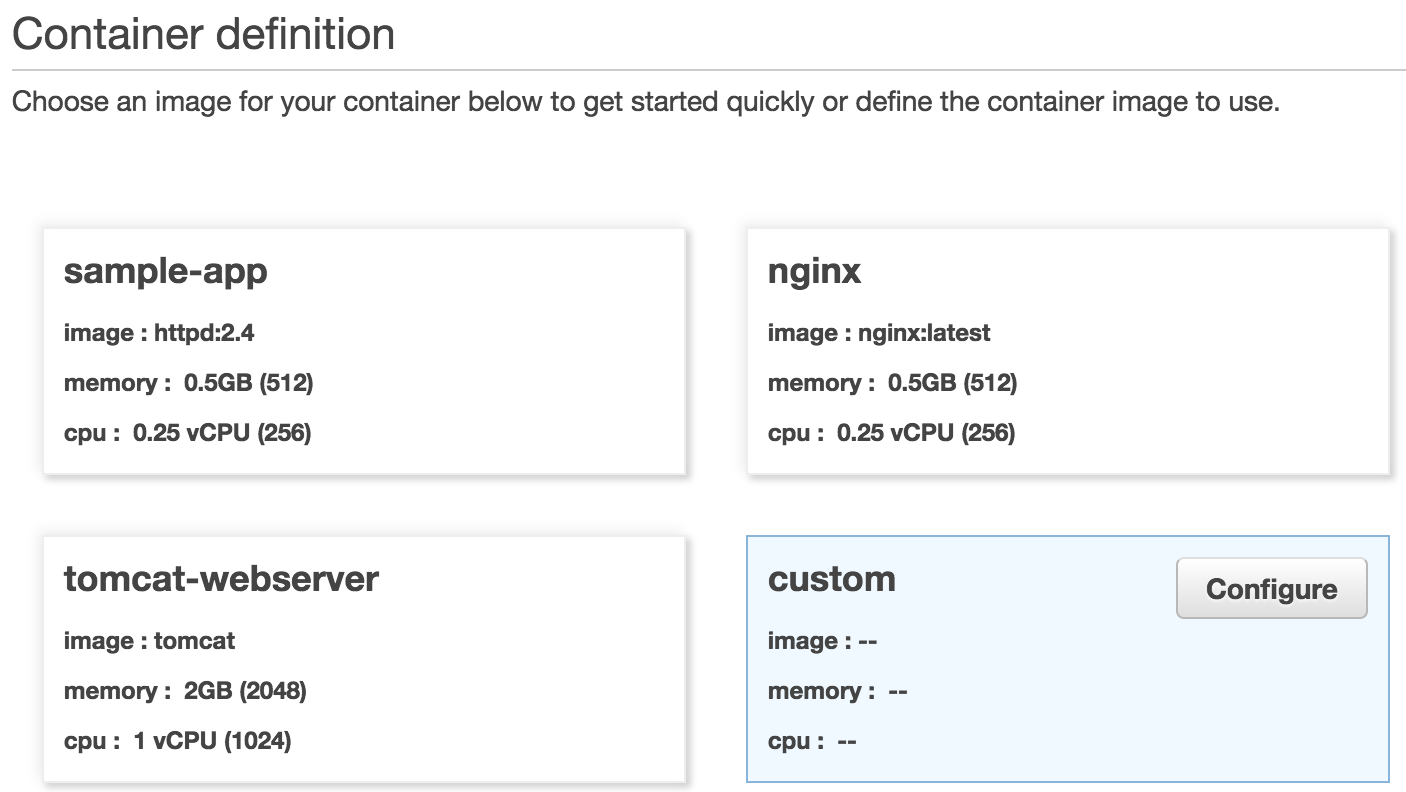
Go to Services -> ECS and click Get Started (I am using N. Virginia region but it should work for other regions also).
Select custom image and click Configure.
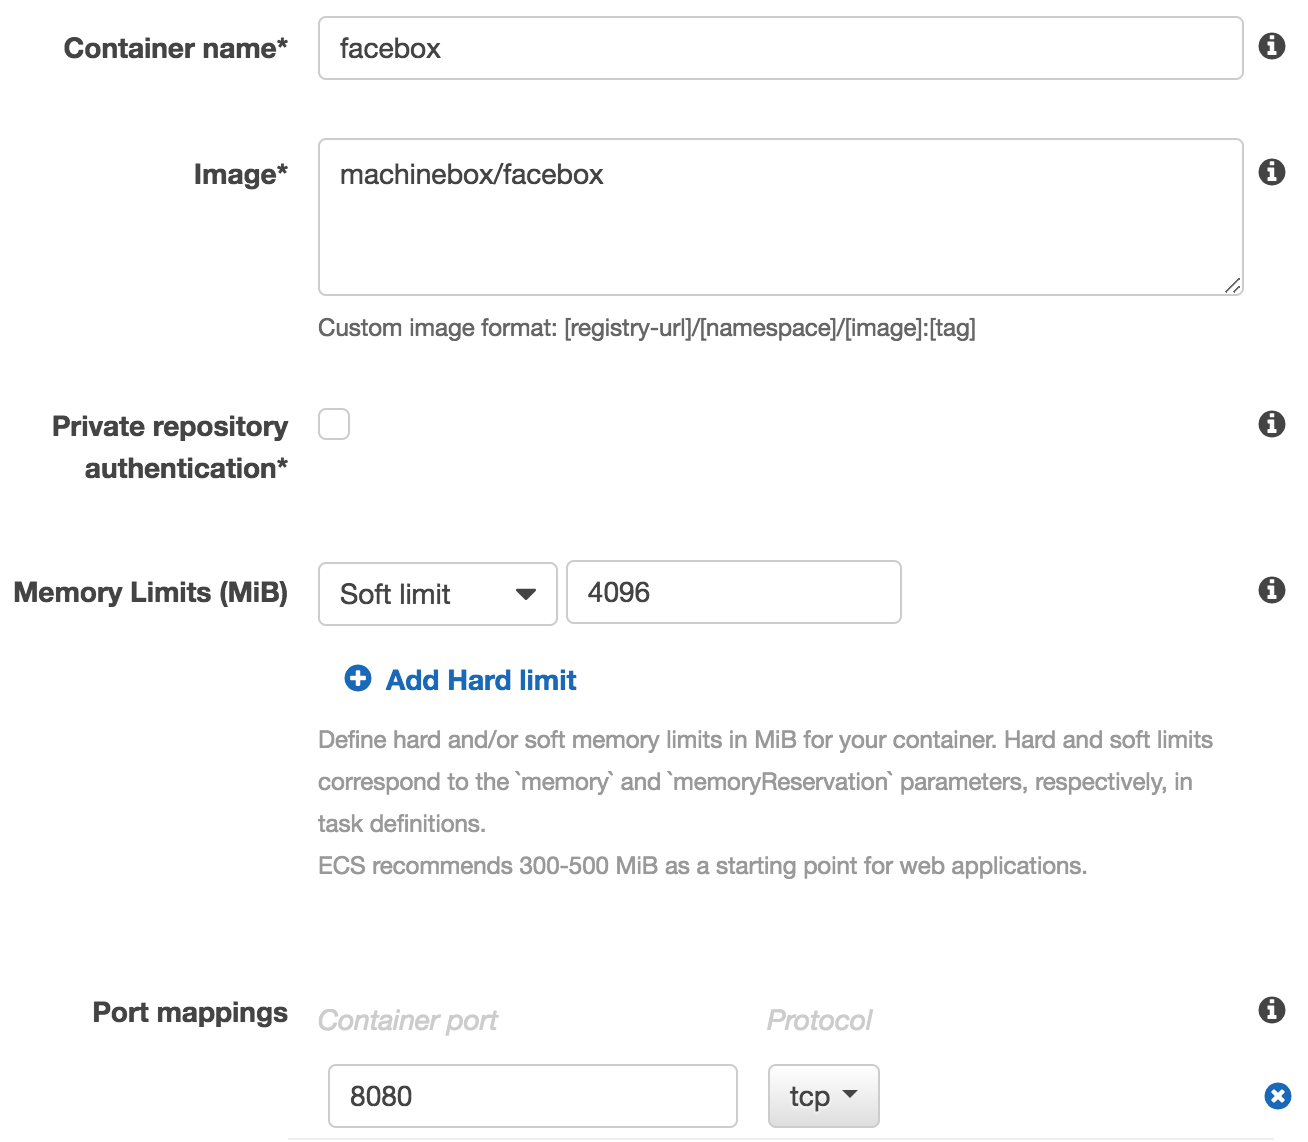
Container Configuration
Set the container name and machinebox/facebox image, ECS will pull the one from Docker Hub. Machine Box team is suggesting to set at least 4GM RAM for your boxes, so we will set the memory limit as 4096. Facebox API is running on container port 8080, so we should expose it. Fargate mode doesn’t allow to specify different host port for mapping, so later we’re gonna to fix it in EC2 Load Balancing section.
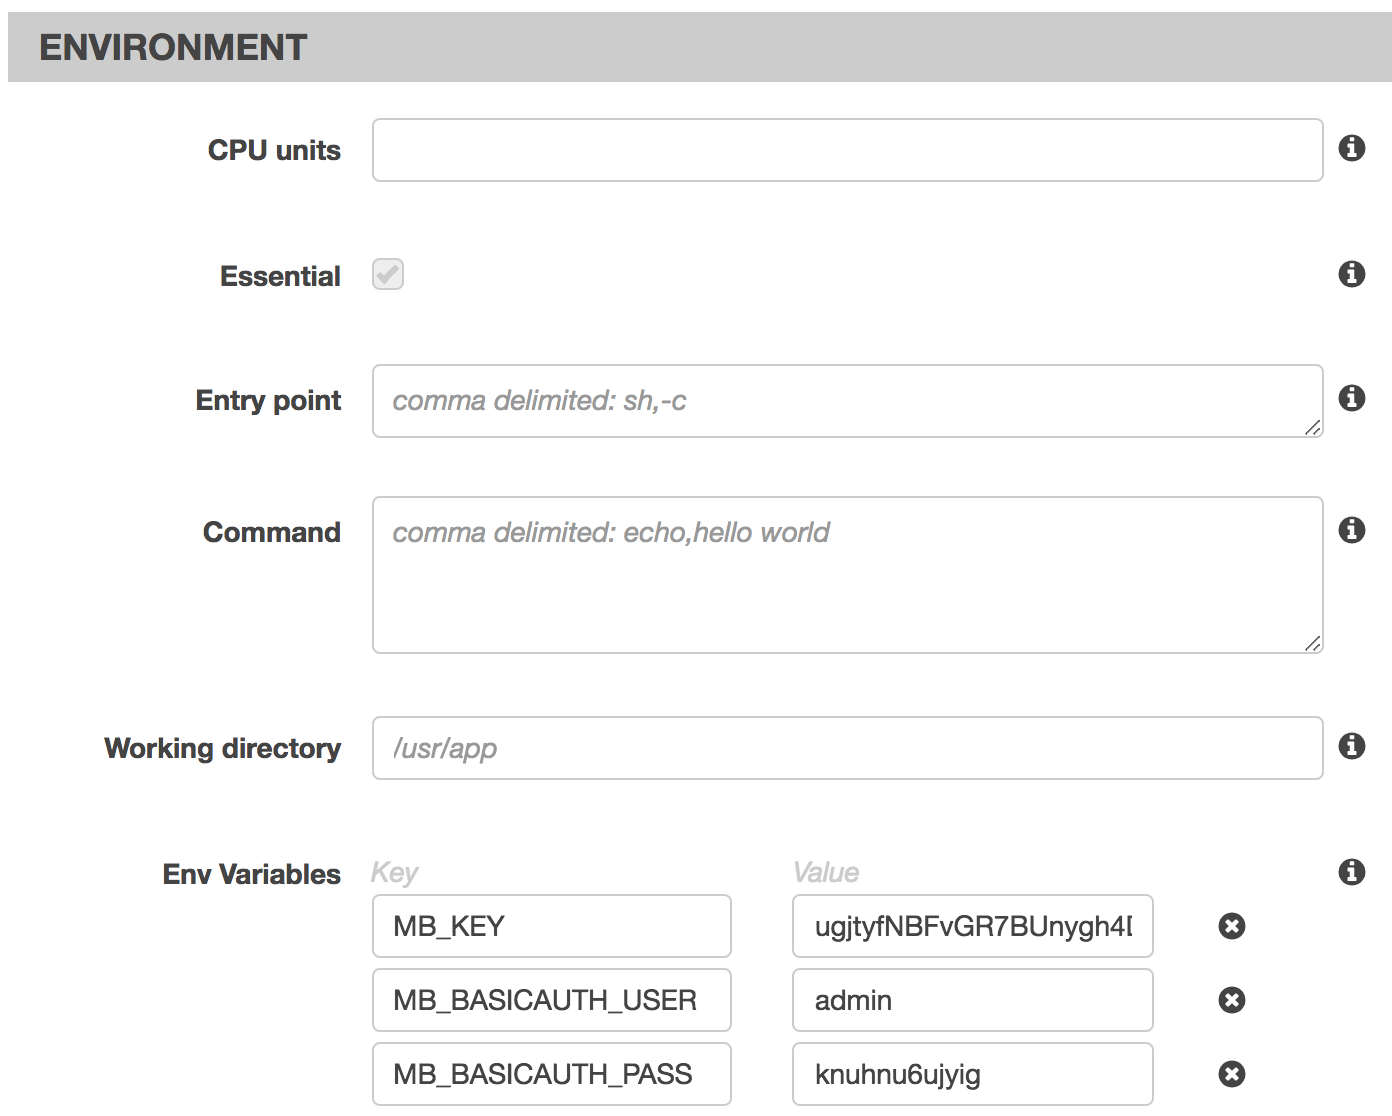
Environment variables
When you sign up on machinebox.io you will get a MB_KEY, which you should set as environment variable in Advanced container configuration section.
Also as our Facebox will be accessible by public IP, it’s better to protect it with Basic Auth, so we set MB_BASICAUTH_USER and MB_BASICAUTH_PASS environment variables. All requests to the box must now include the Basic Authentication HTTP header.
Task Definition
Click Task Definition -> Edit and set Task memory: 4GB (4096) and Task CPU: 2 vCPU (2048), also give a name to our task definition. Click Next.
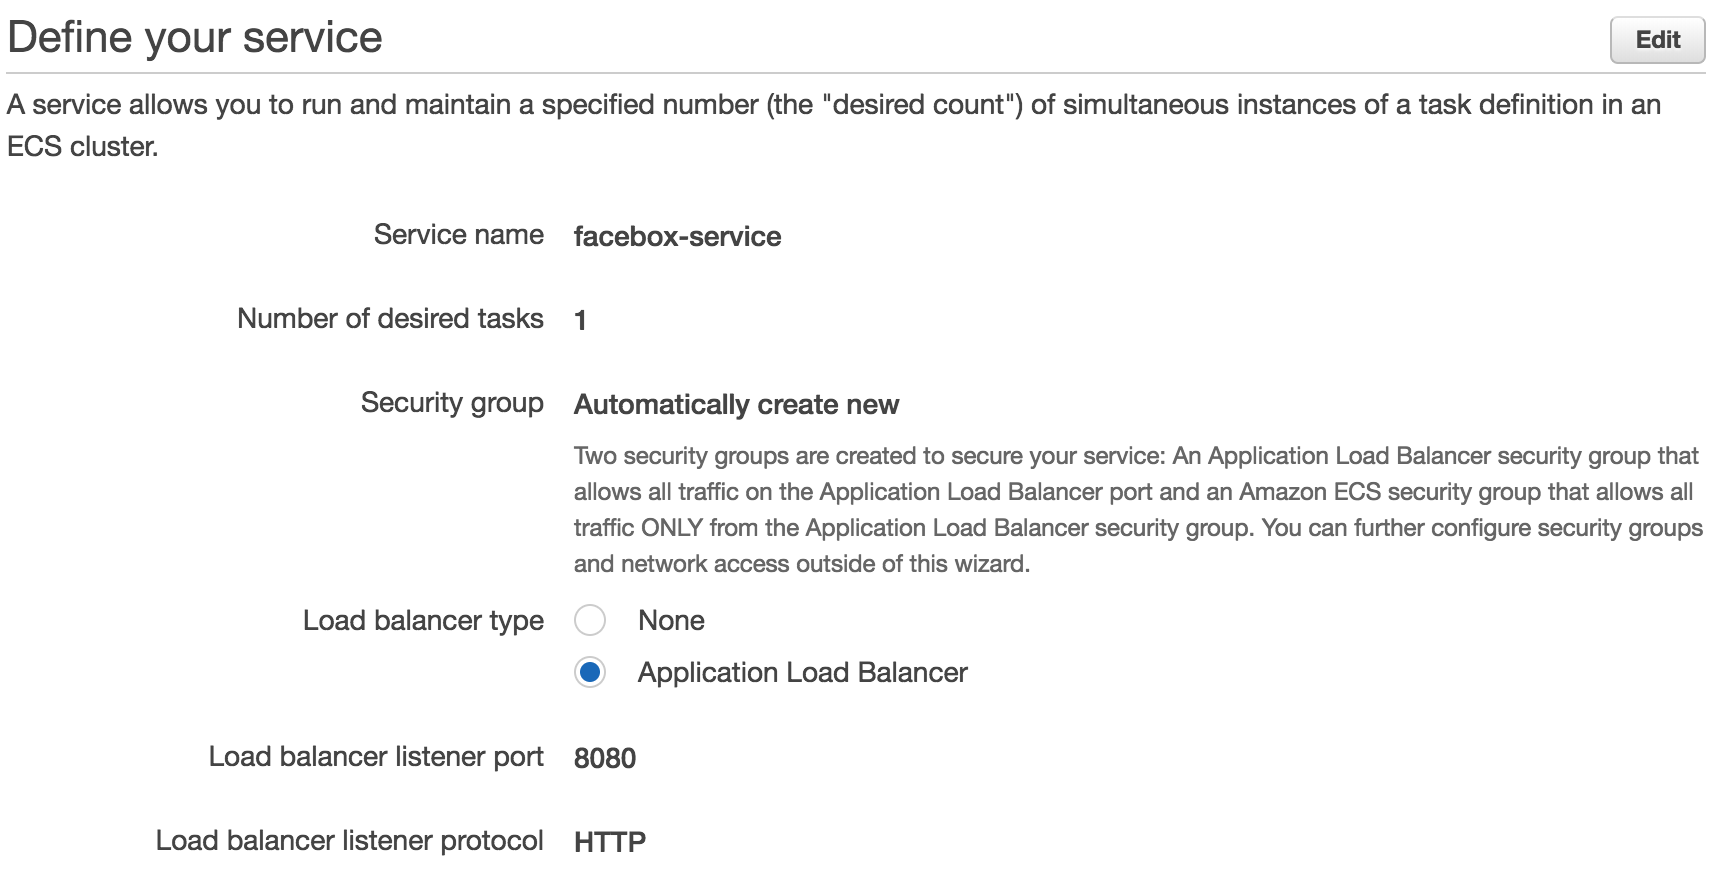
Service Definition
Here you just need to enable Application Load Balancing with a listener port 8080 and give your service a name.
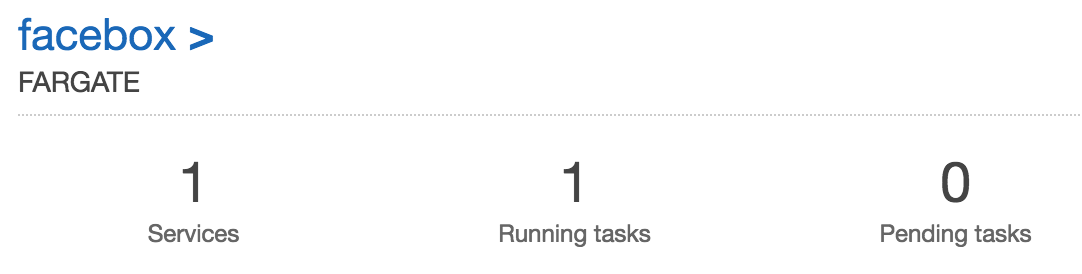
Done
Set a cluster name, and click Create. It will take few minutes for ECS to pull an image and run it, after some time you will see your cluster is up and task is running:
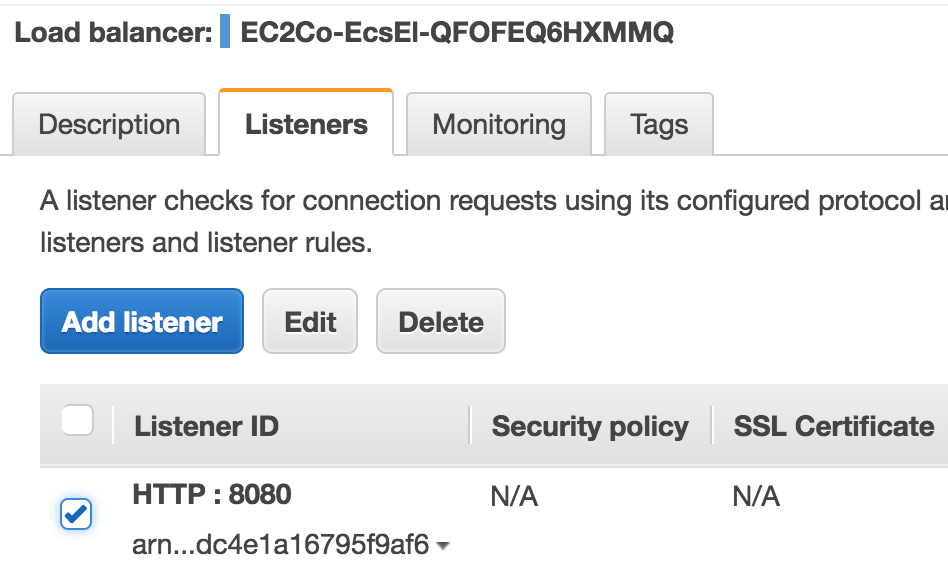
Check it out
Now let’s change listener port from 8080 to 80, open EC2 -> Load Balancers, go to Listeners tab, find 8080 listener and click Edit. Change 8080 to 80.
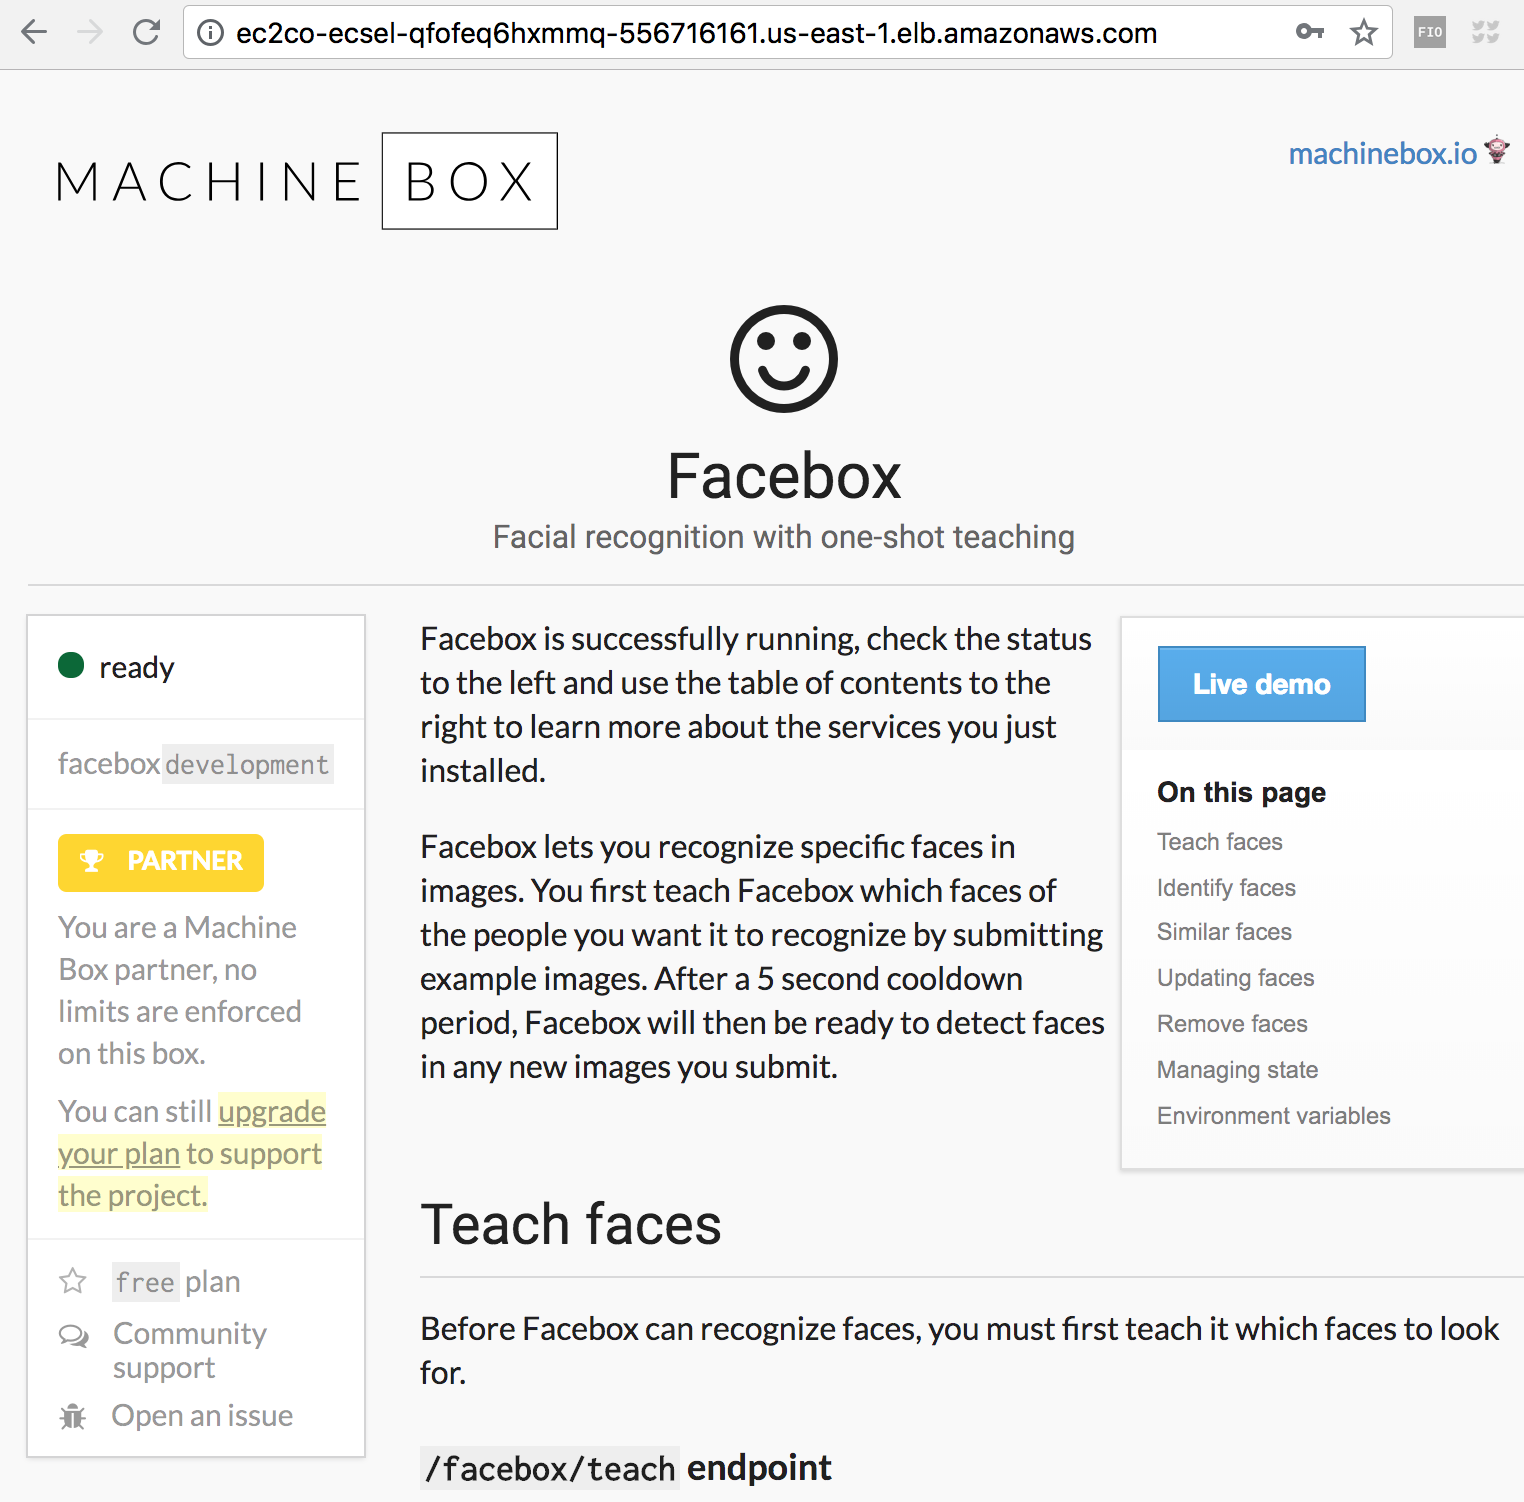
As we enabled Application Load Balancing you will be able to access your Facebox Console by a public endpoint. You can find it in your ECS service or in Load Balancer description.
Enter your Basic Auth username / password and you will be able to see the Console.